In Monstock, you have the possibility to create your routes.
To create a route, you must have previously created delivery types compatible with routes, and create orders with these delivery types.
-
Create an order with a delivery
To create a new route, you first need to create the order(s) concerned by the tour, and ad a delivery type. To know how to create a delivery type, see our tutorial :
Note : To create an order for a route, you need to select an "Internal" delivery type.
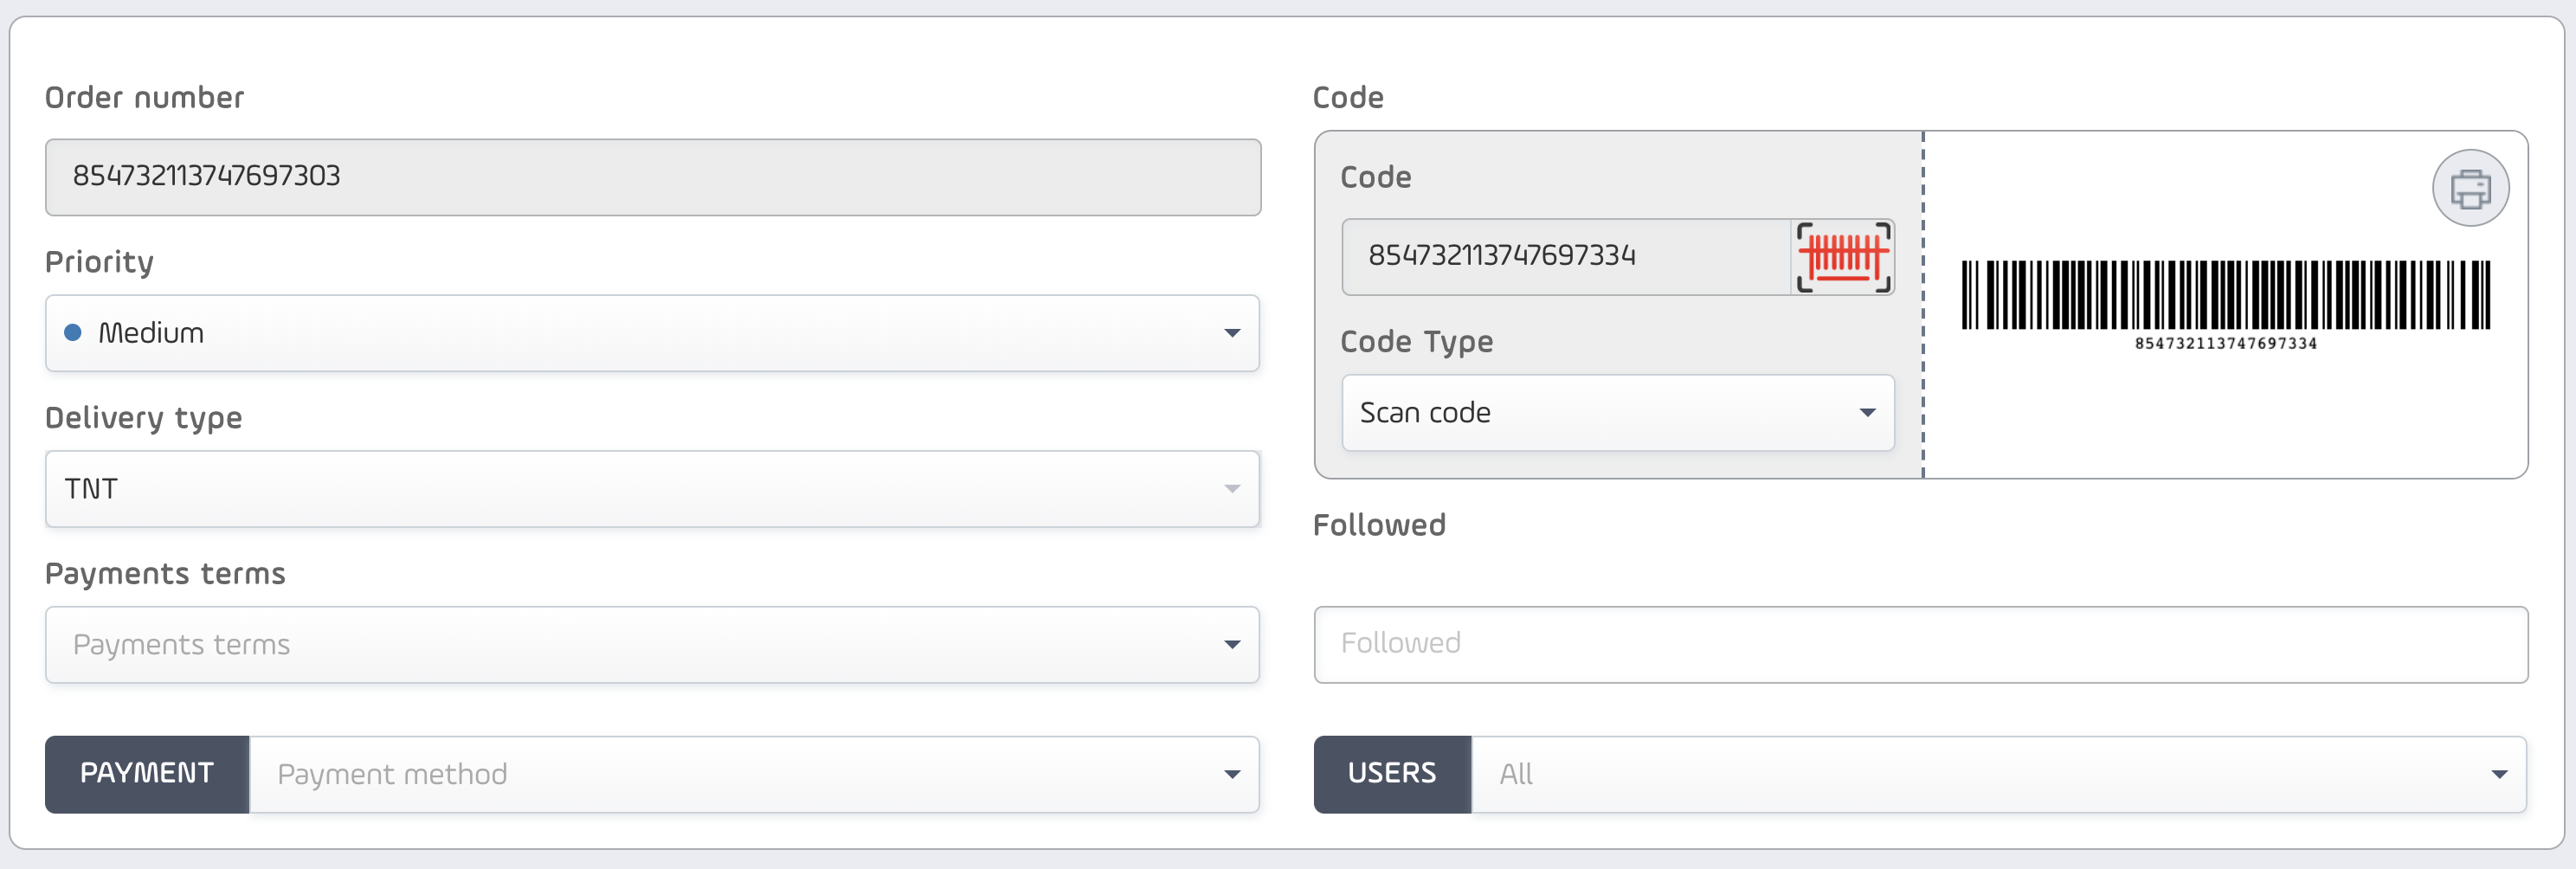
Once you choose your delivery type, the status bar is updated with a new status "Ready to go" :

Note : When creating your order, you must be vigilant on the following points :
- The selected site for your order needs to have handling units activated for preparation and reception. (See how to activate the handling units here),
- The selected customer needs to have correct coordinates for consistency of delivery information.
Once you order is confirmed, prepare then package the products.
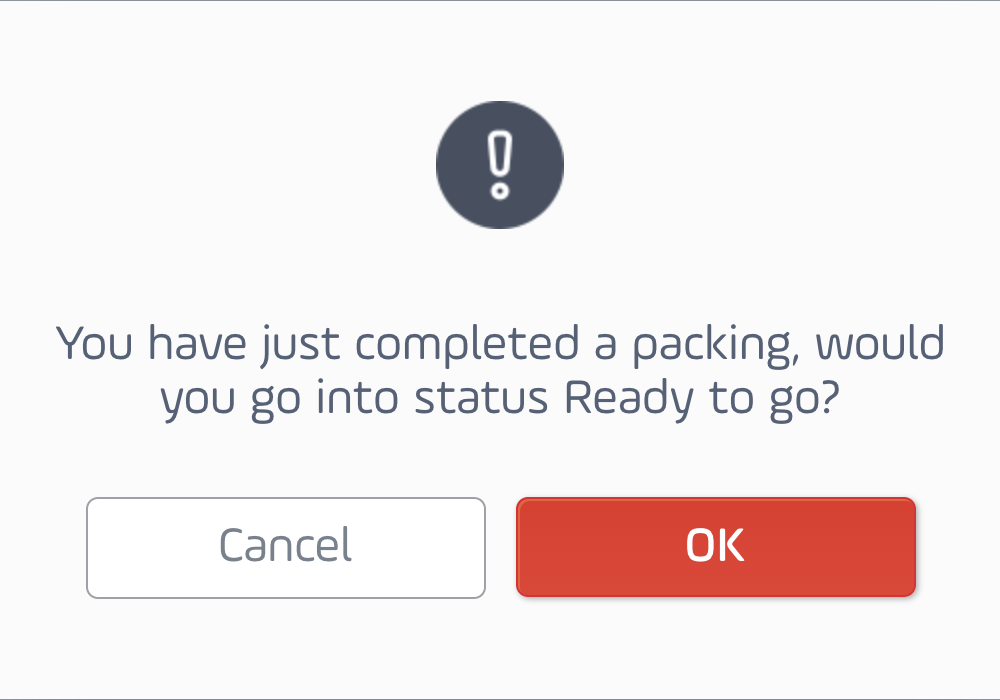
Once the packaging is validated, a new window is displayed, asking you to confirm the transition to the "Ready to go" status :
One the status of your order is "Ready to go", click again on "Packing" to display the events related the order :
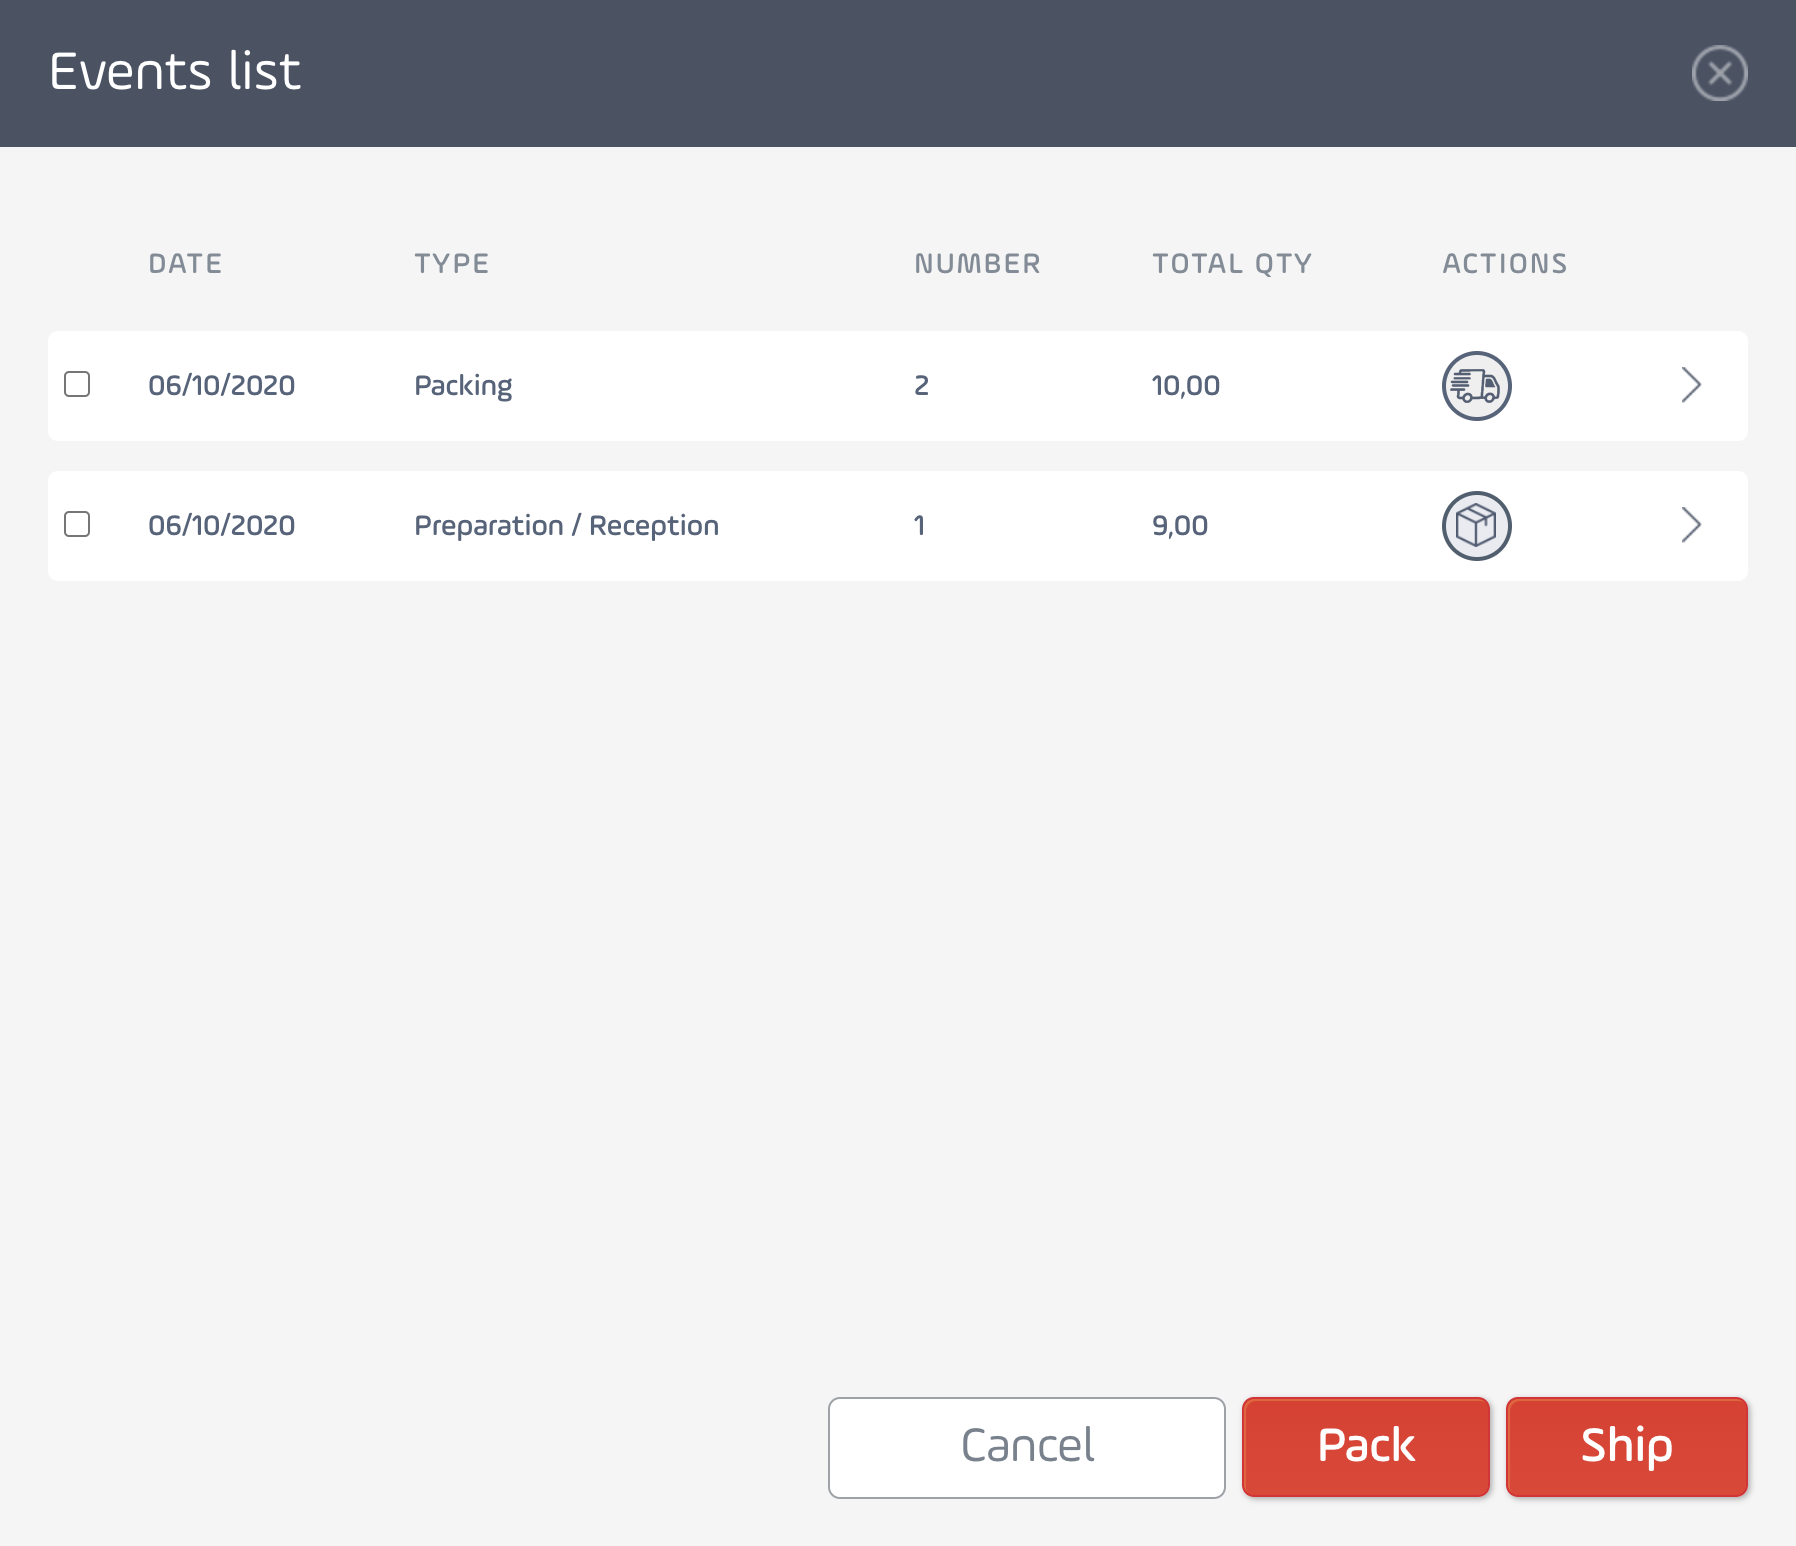
To ship your order and make it appear in the list of your deliveries, select your package and click on "Ship", or click directly on the following button :
Note : If you want to ship multiple packages at the same time, select the packages you want to ship and then click on "Ship" at the bottom of the window.
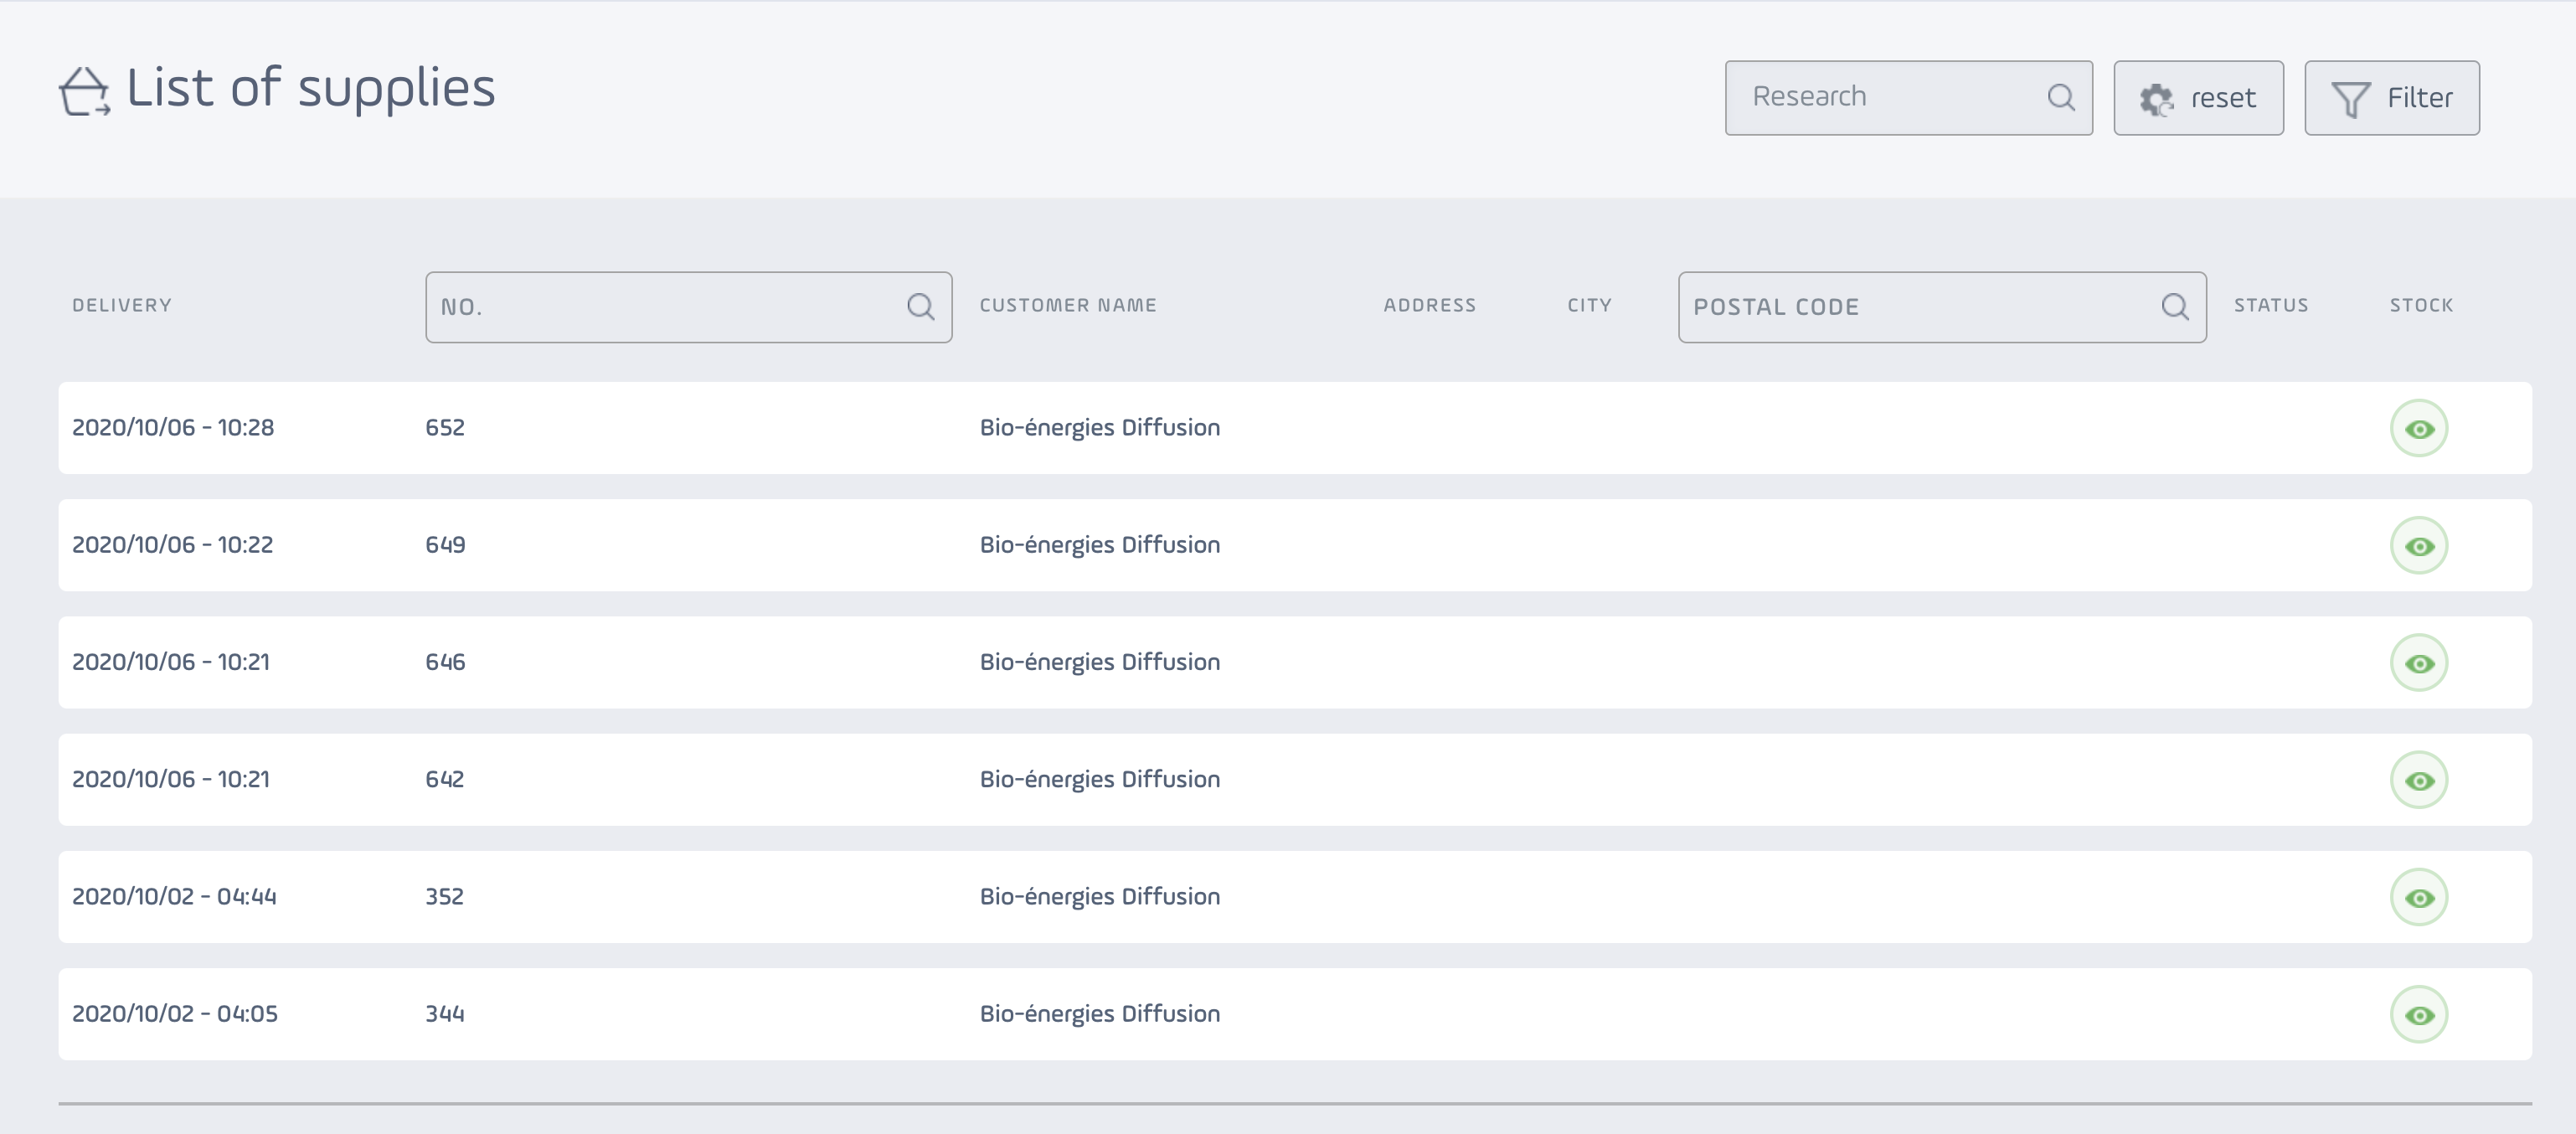
You can then find all your deliveries on the delivery list, accessible from the "Sales" menu :

You can consult the details of your deliveries by clicking on the following button : ![]()
-
Create a route
Once your order validated and shipped, you can now create your route.
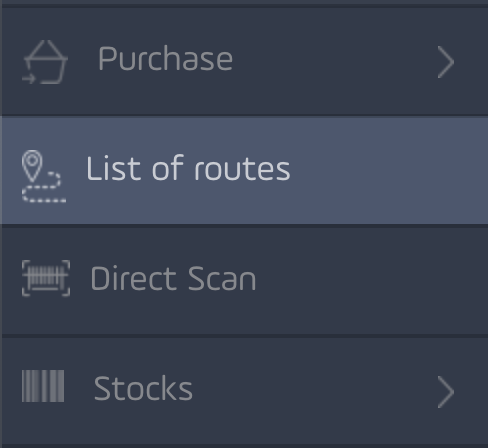
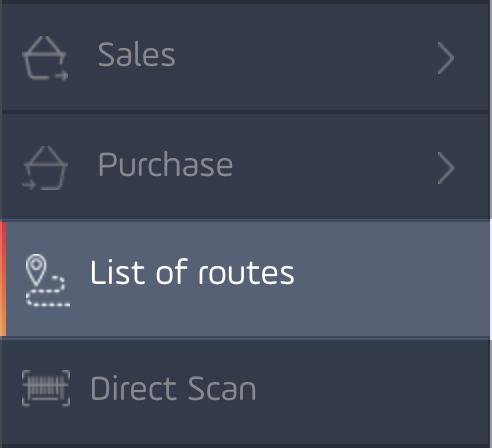
To do that, click on "List of routes" on the left side navigation pane :
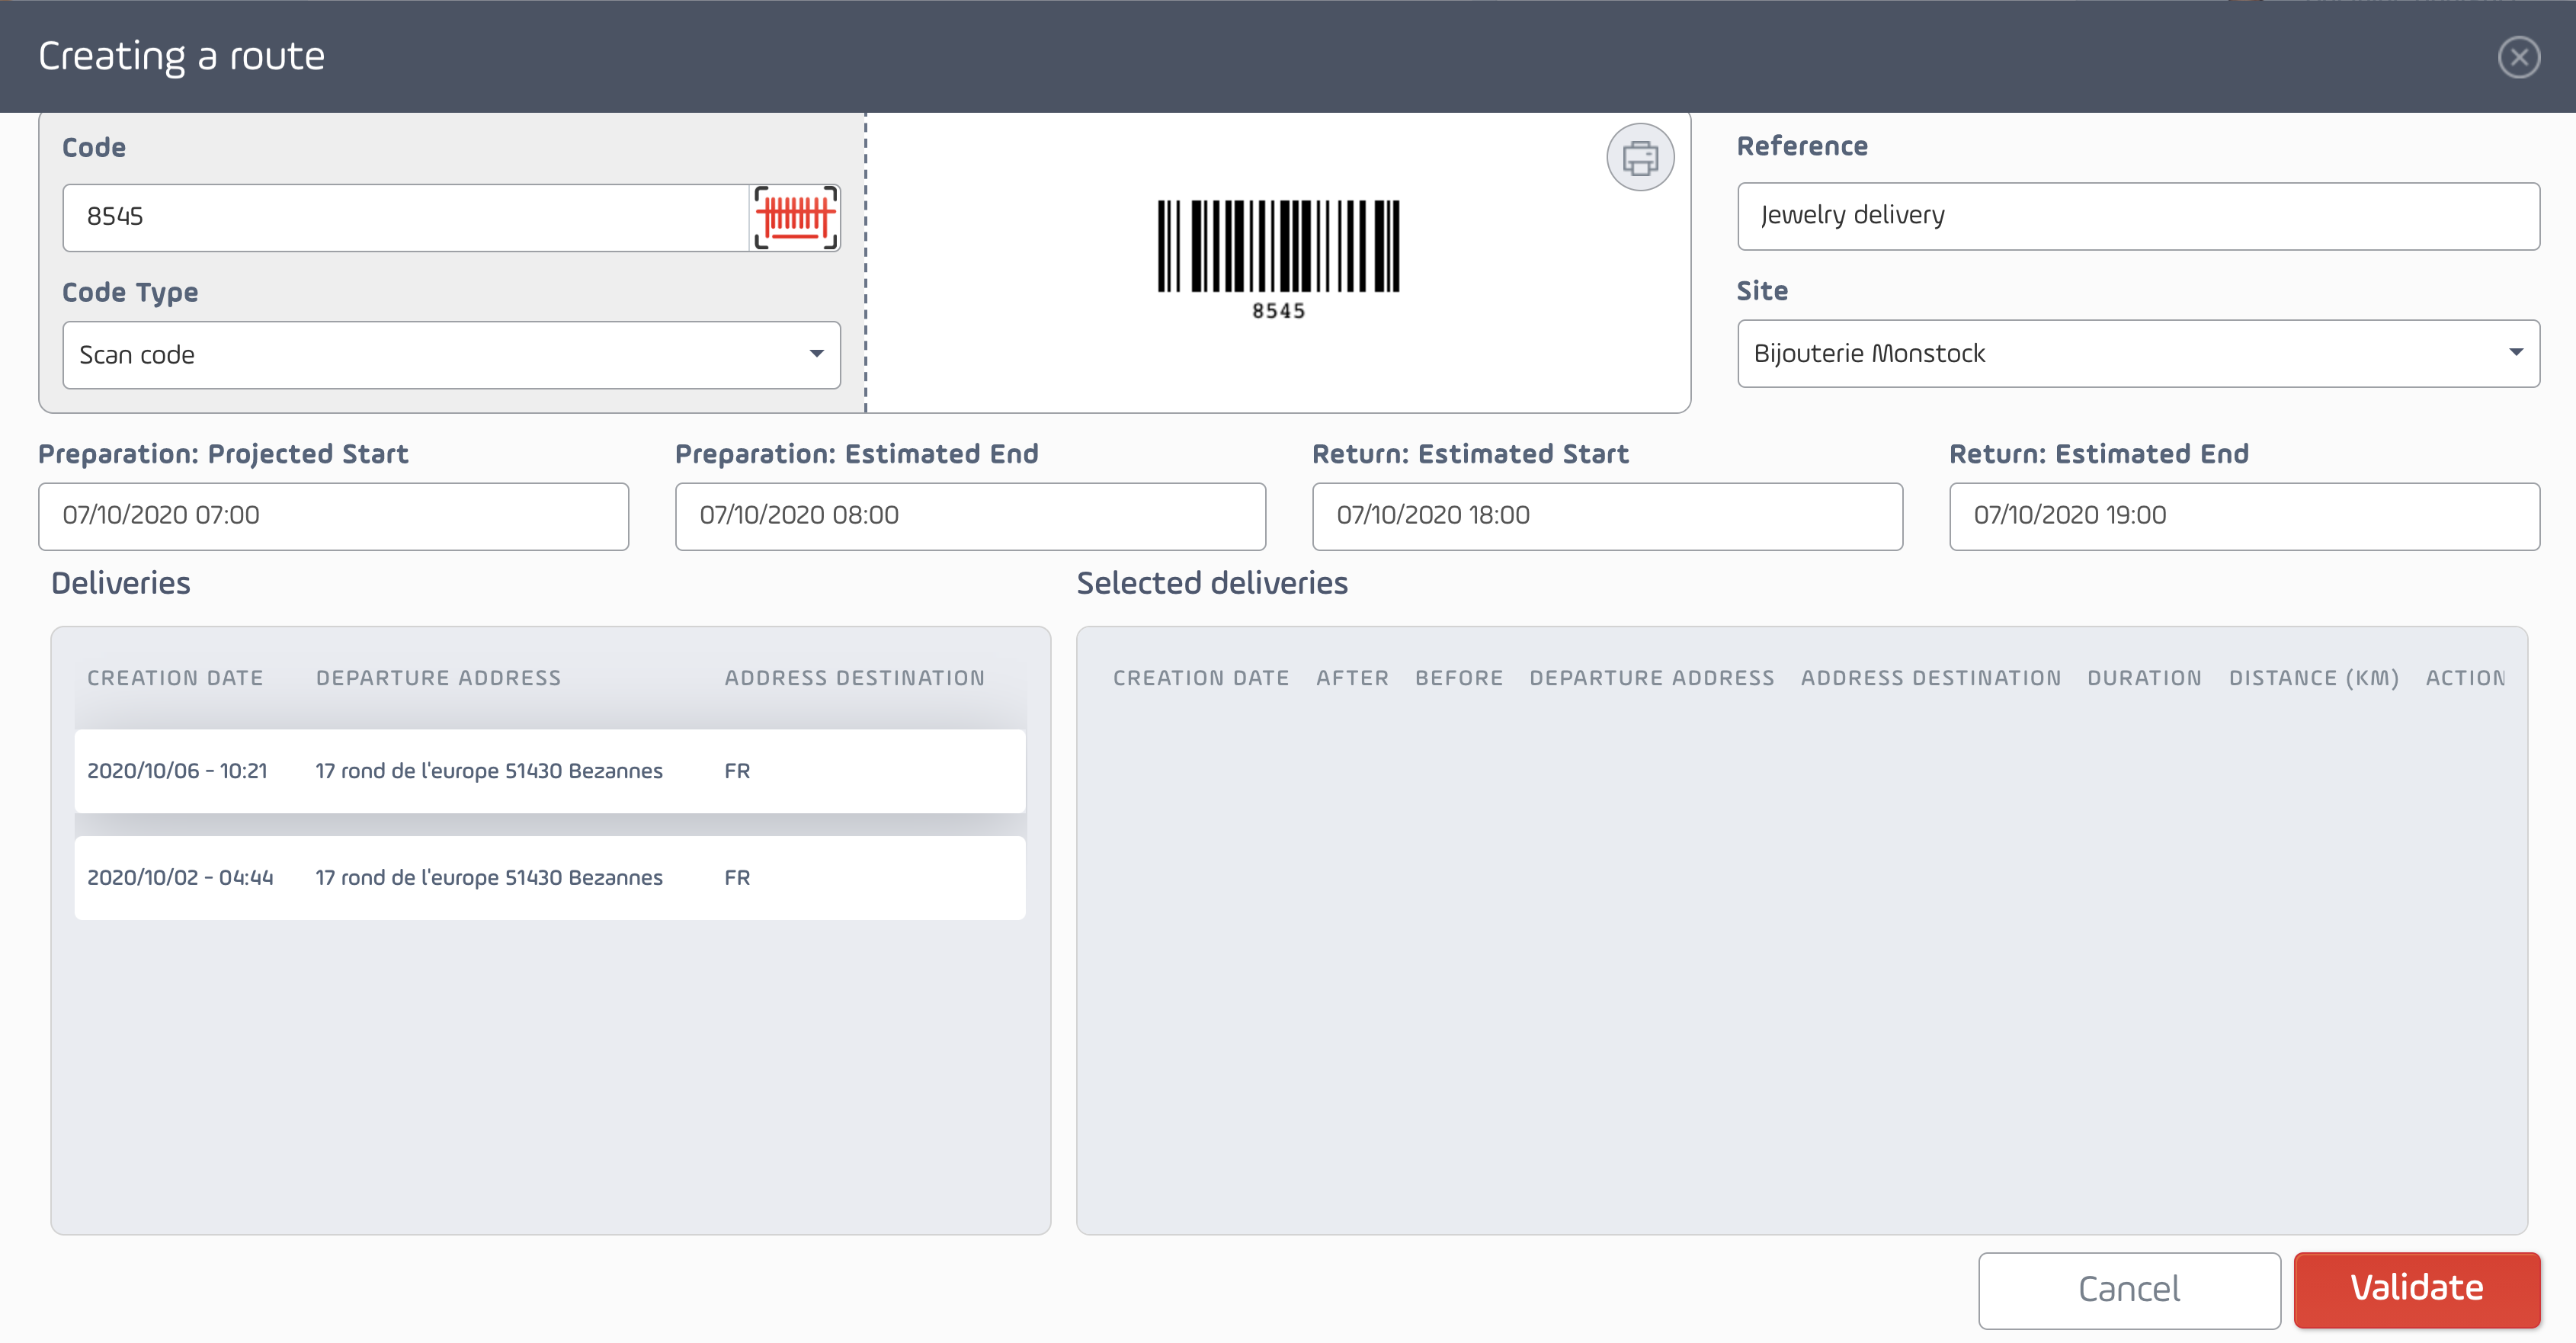
Then, click on "Create", a new window is displayed :
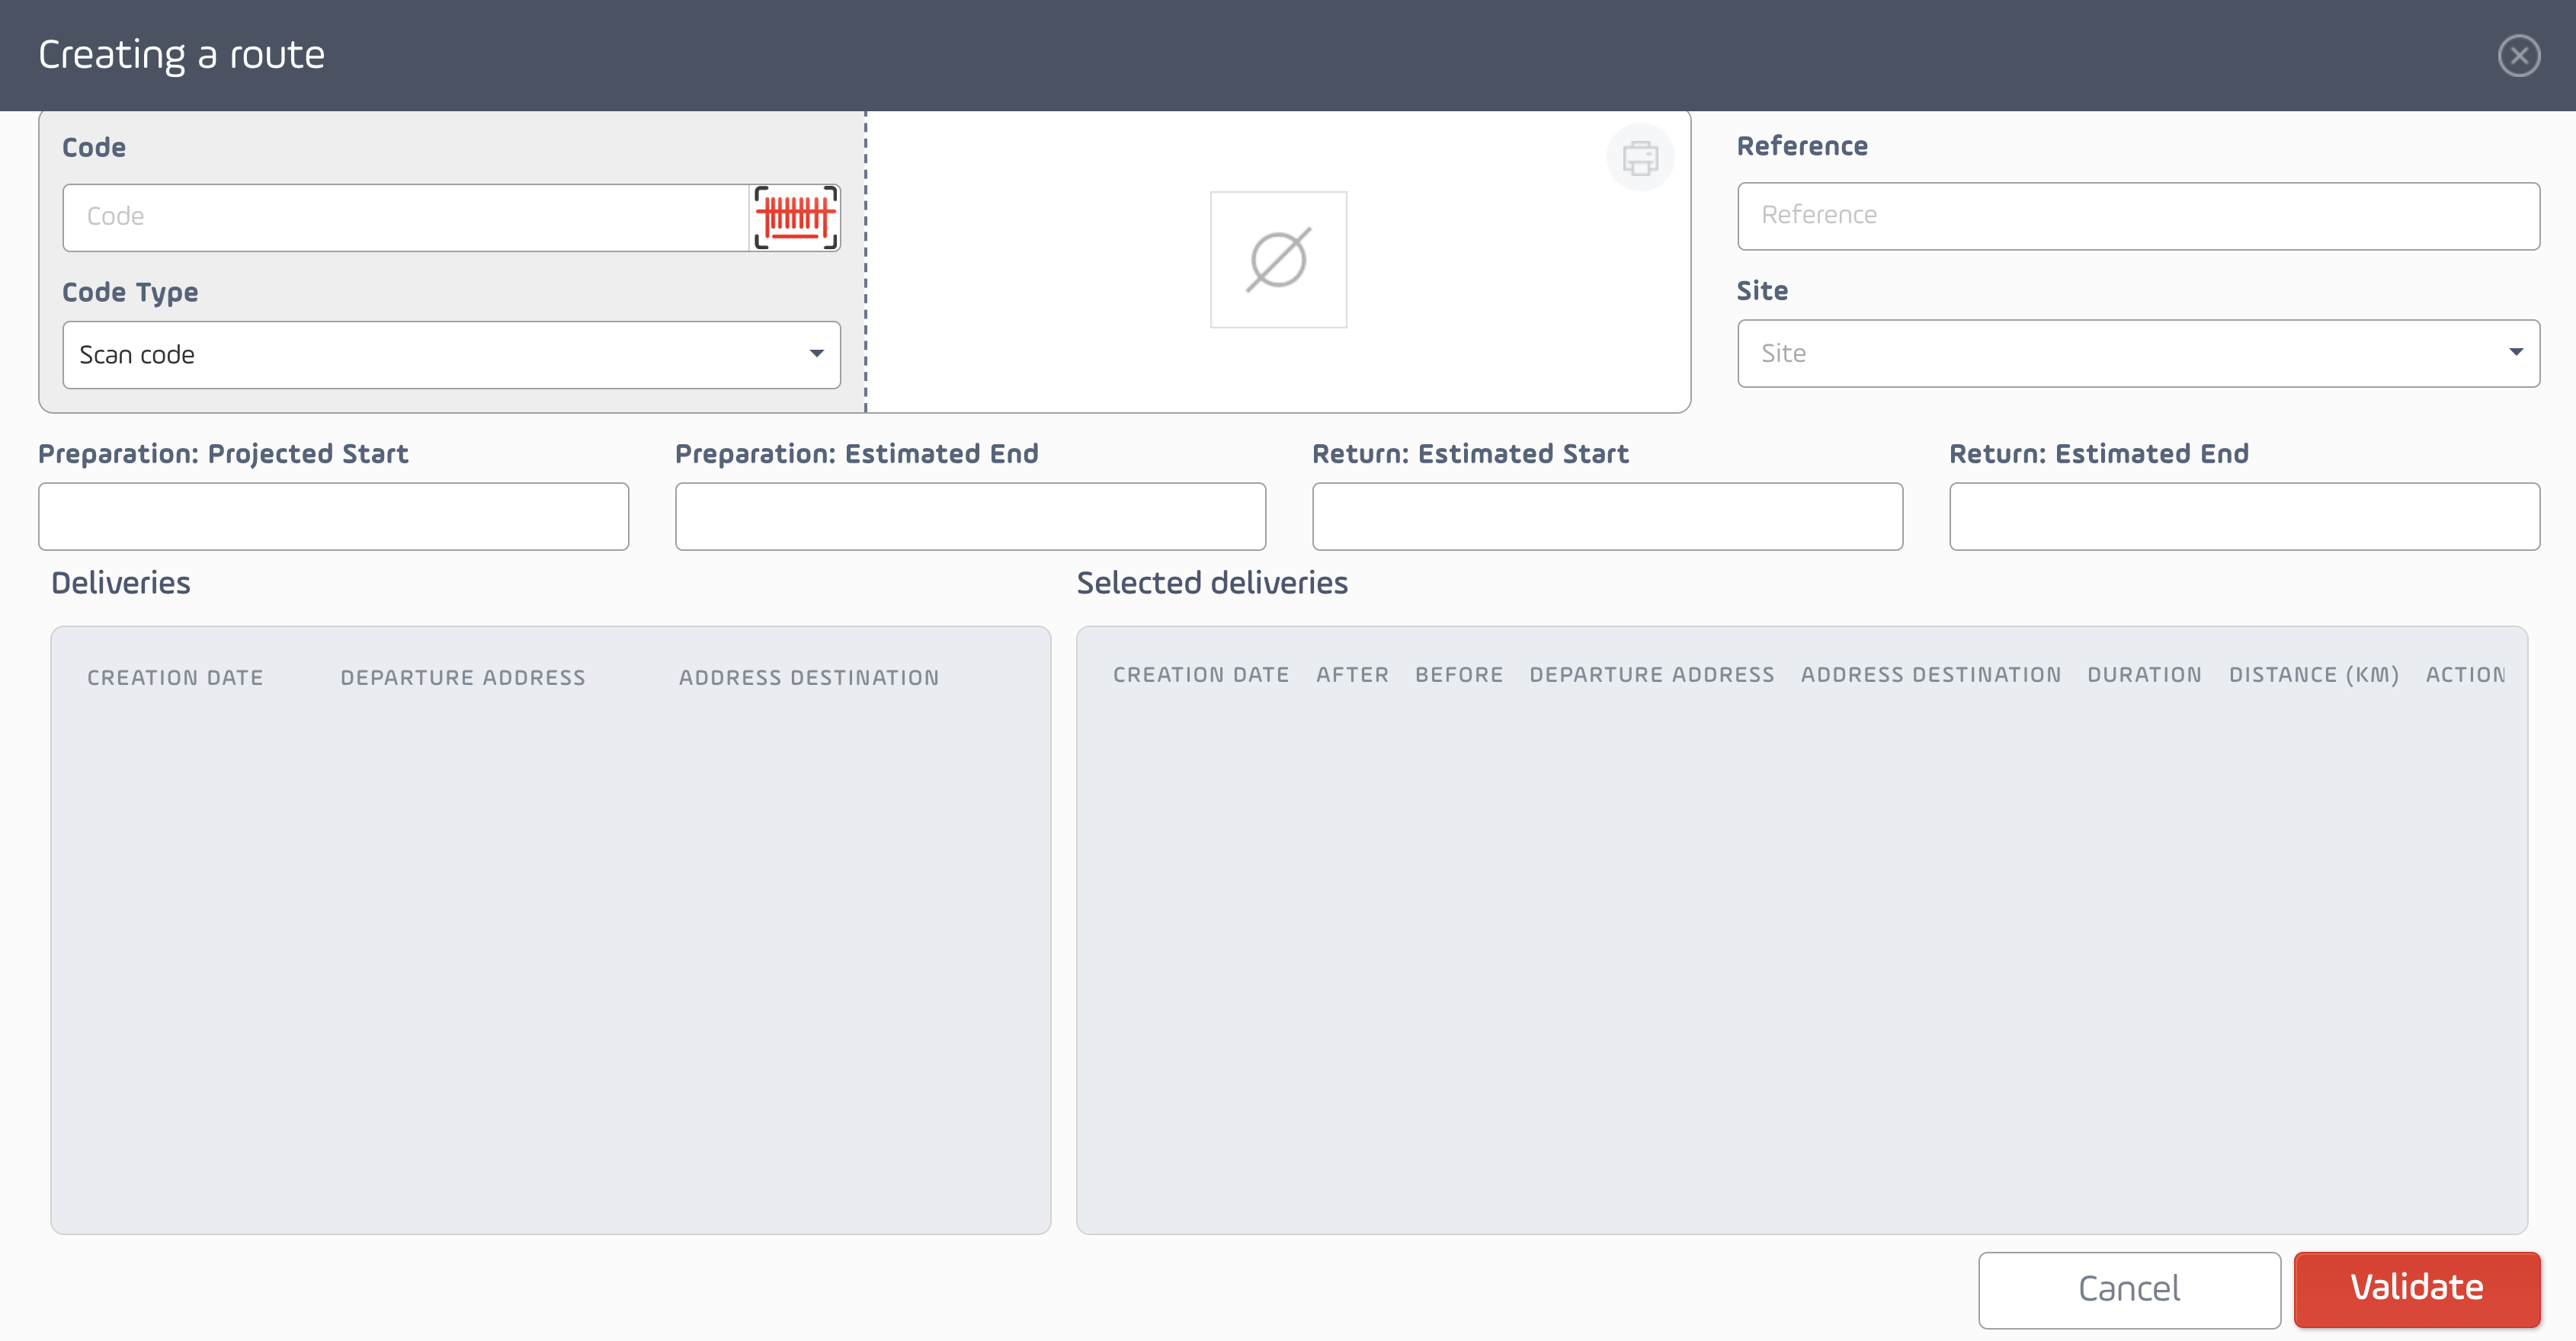
Start by entering the code and the reference of the route, then select the concerned site. Enter the projected dates of preparation and return of the vehicle. Once the site is selected, the available deliveries are displayed in the "Delivery" part :
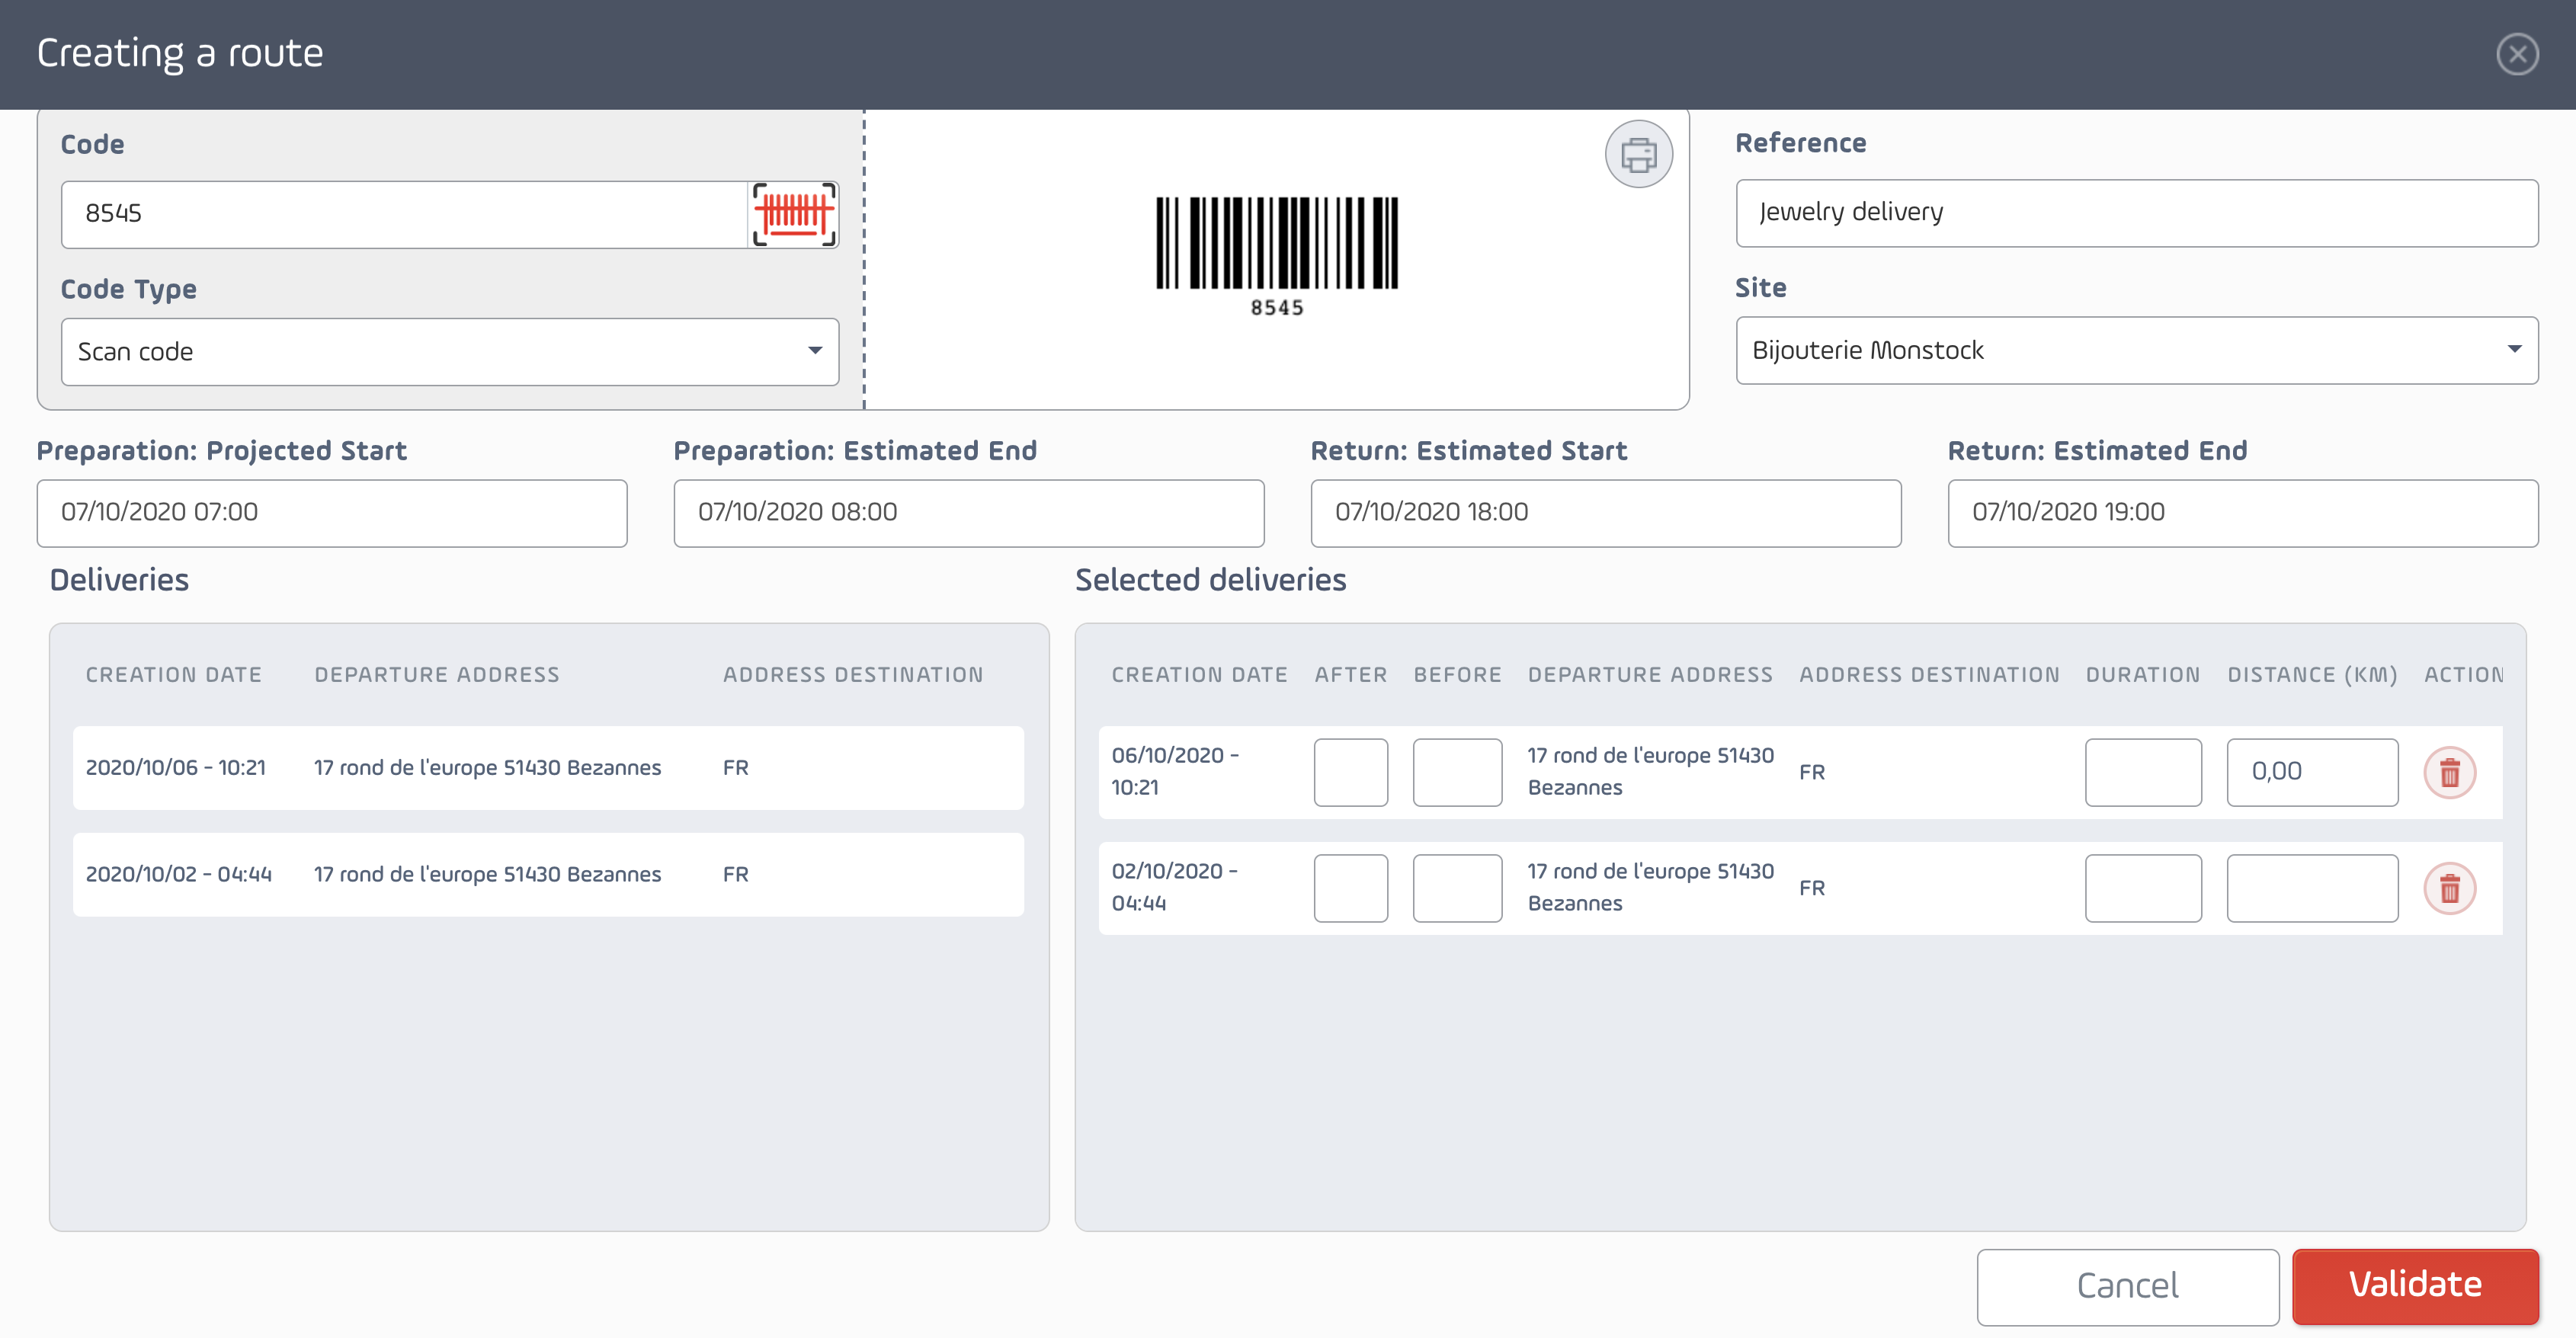
Select the deliveries you want to add to the tour by clicking on it :
Add the projected dates and hours of start and end of each delivery on the "After" and "Before" fields, with their duration and distance :
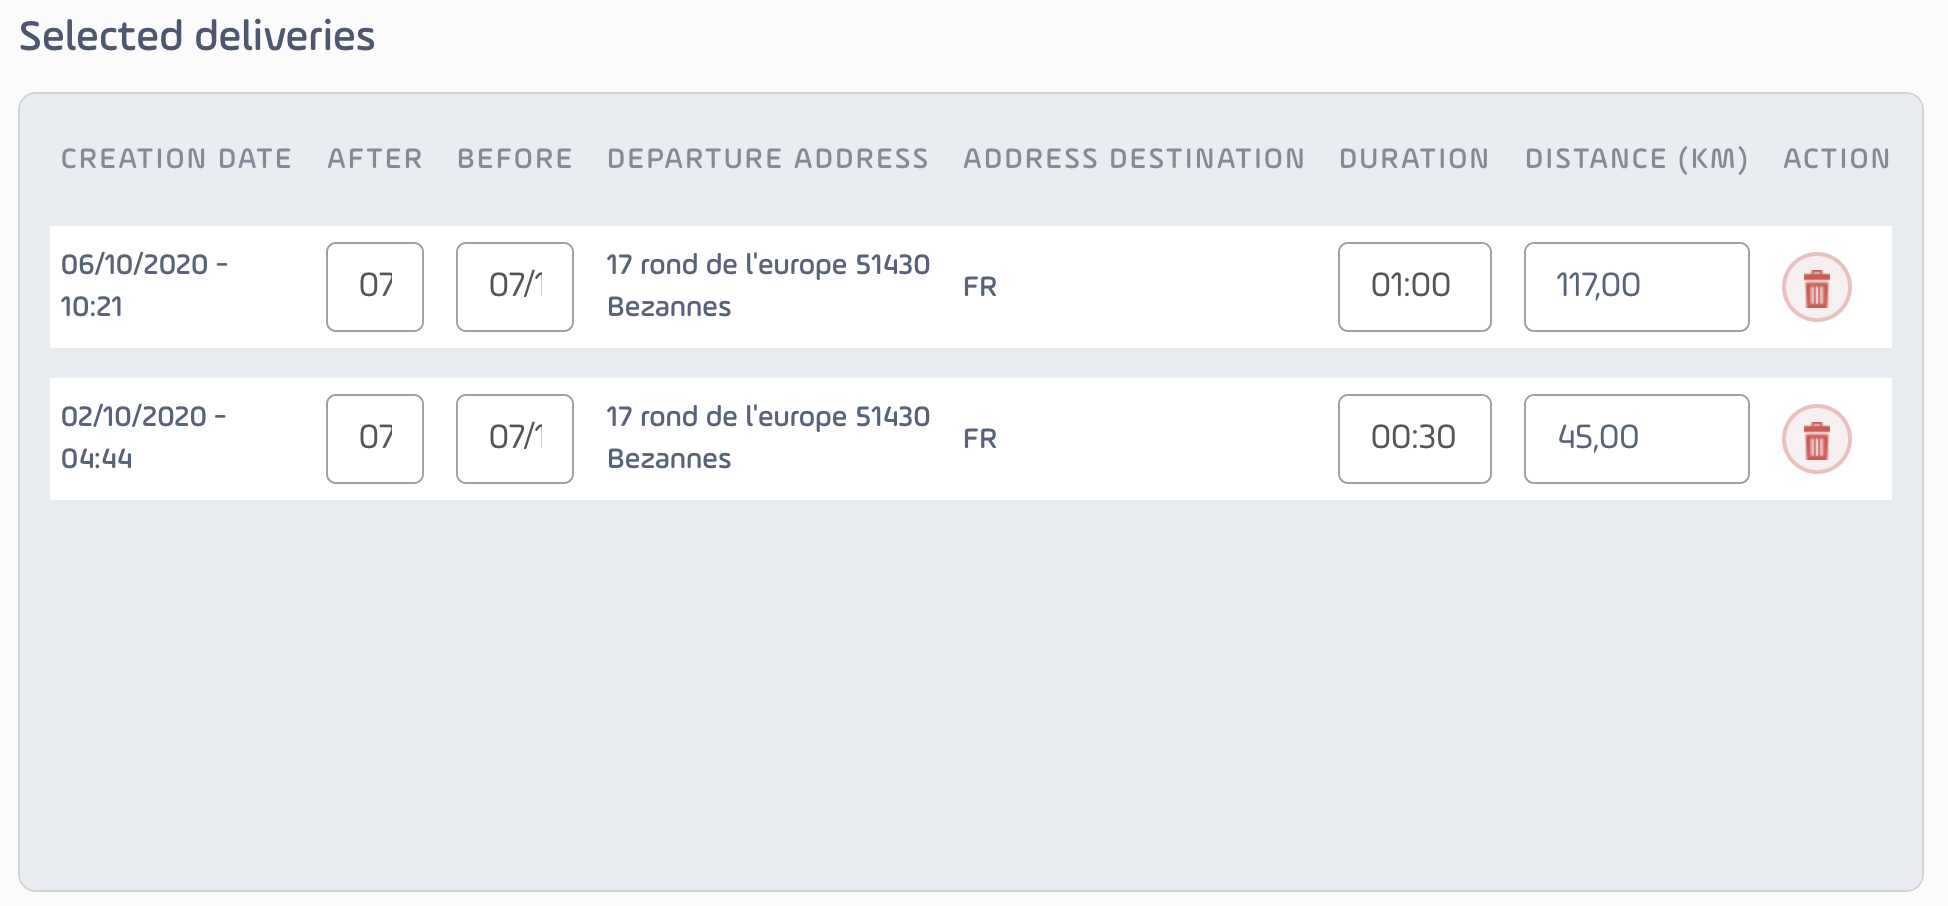
Then, click on "Validate" to confirm the creation of the route :

Your route is now displayed on the list of routes, accessible by clicking on "List of routes" on the elft side navigation pane :
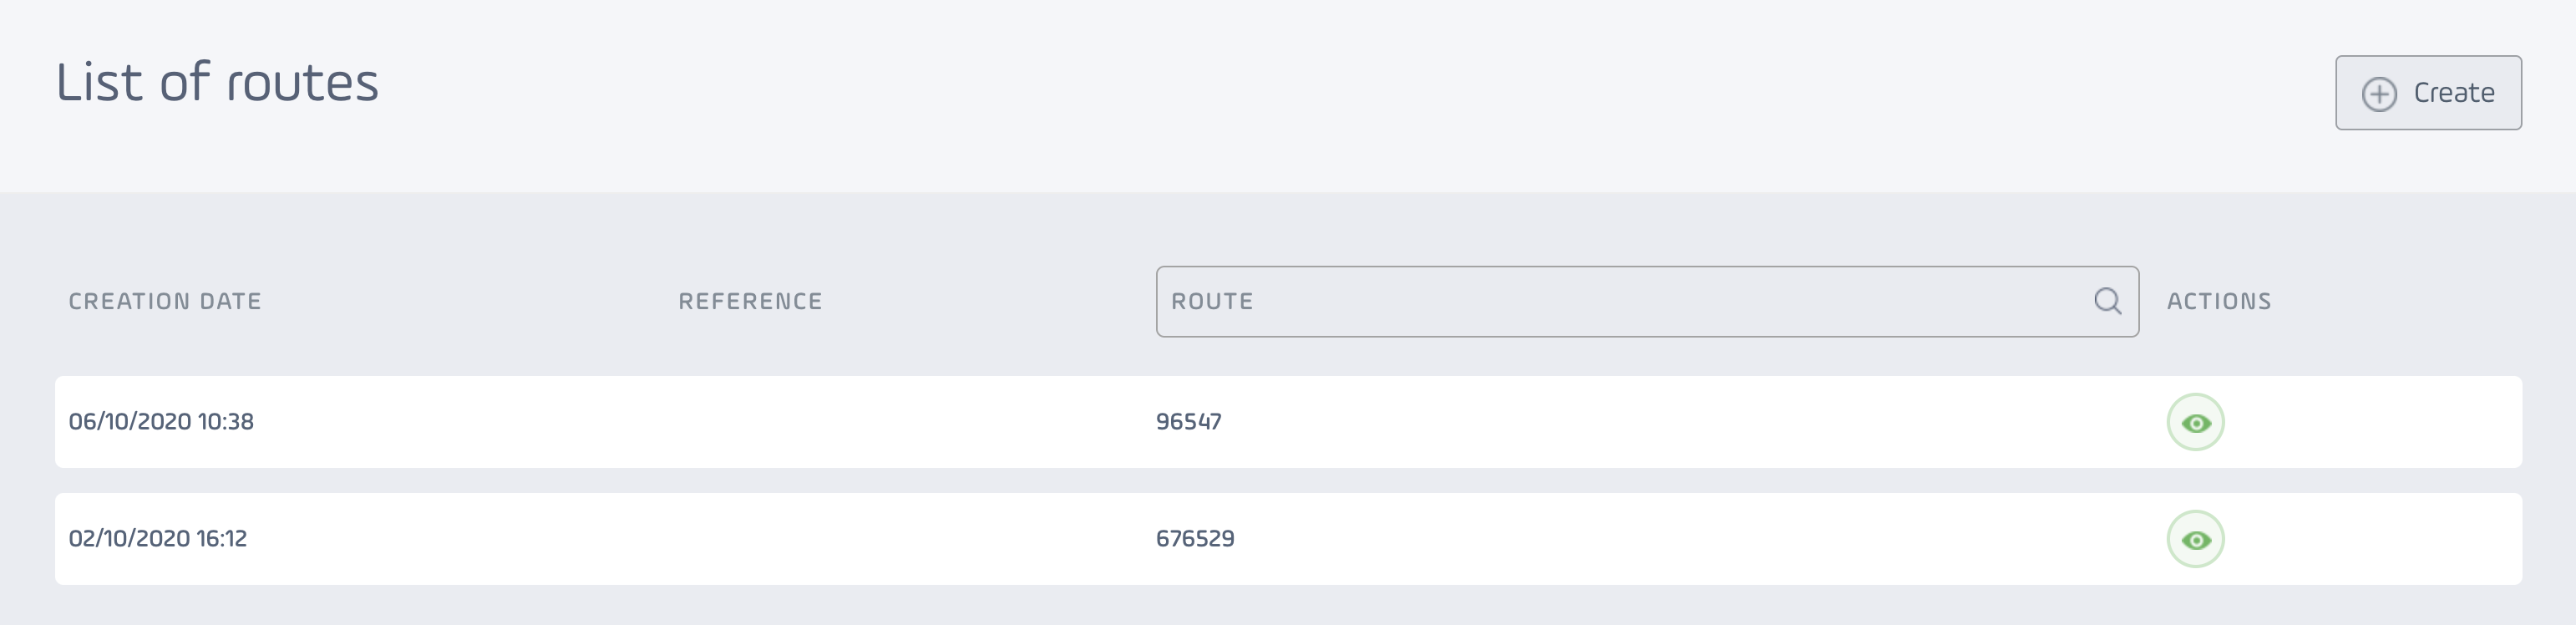
You can get the details of your route by clicking on it :
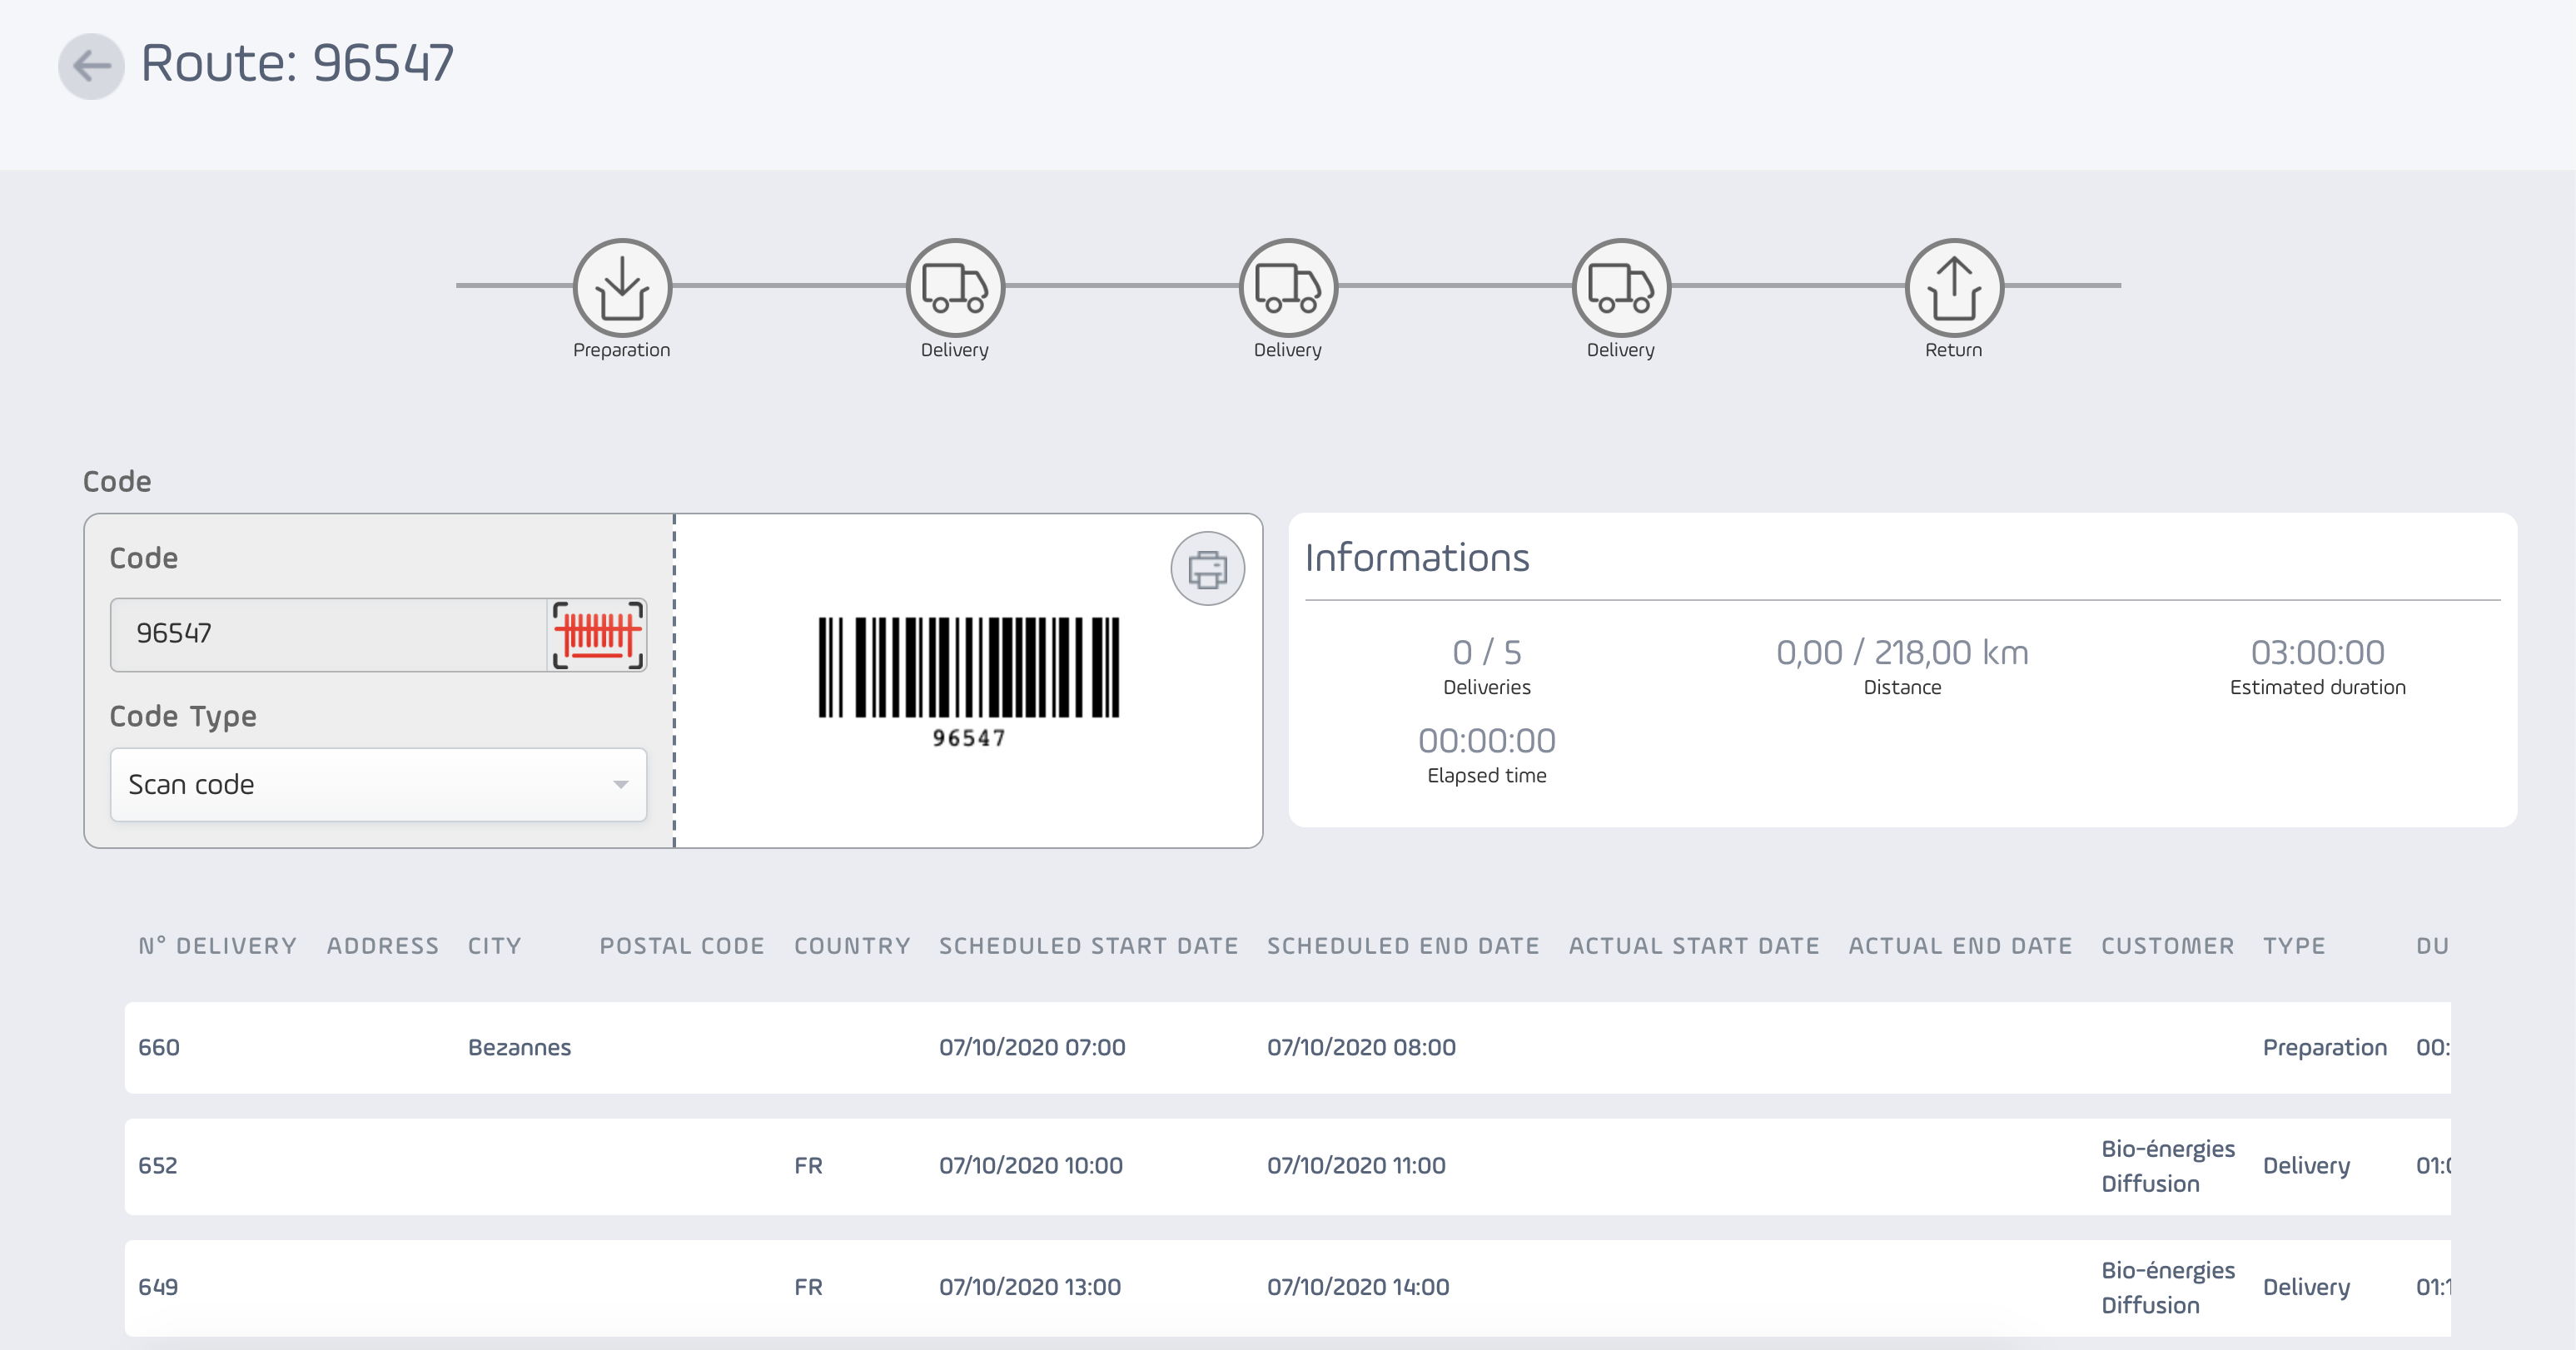
To perform your route, go to the Android application.
See our tutorial to perform a route from the Android application.
Comments
0 comments
Please sign in to leave a comment.